Teacher Educator Manual
Creating an Account
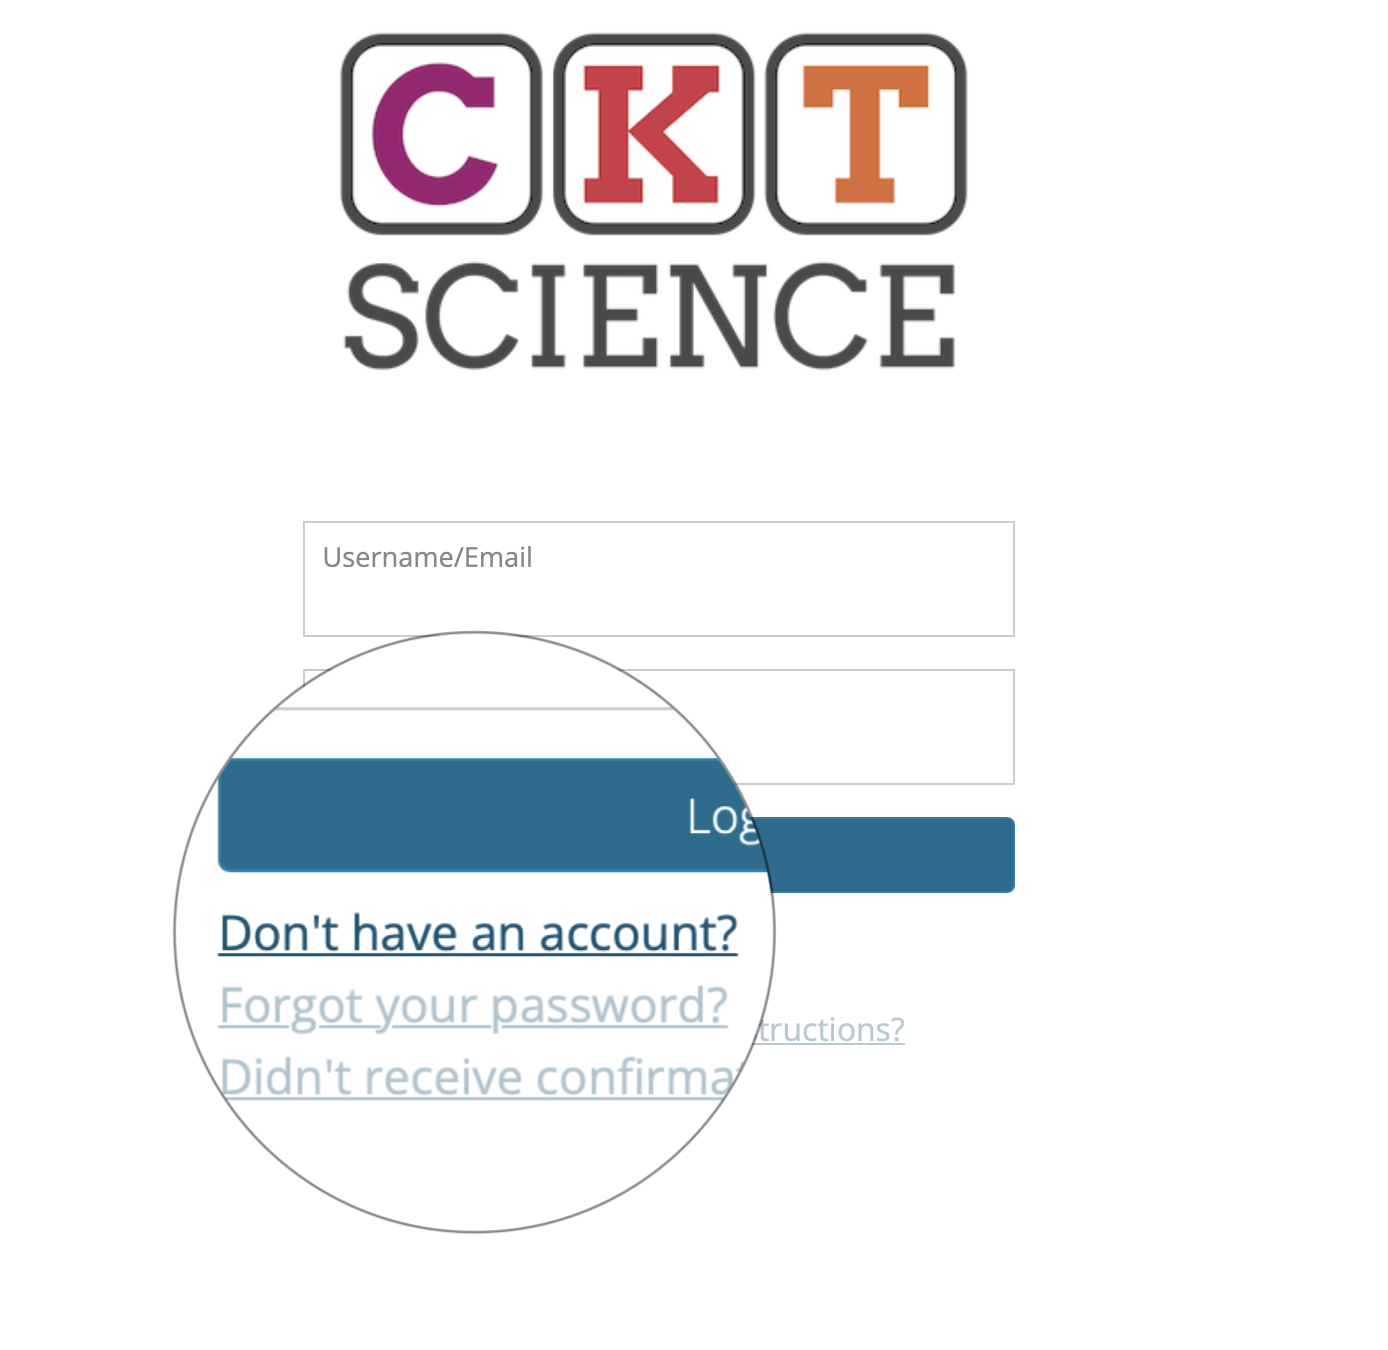

2. Enter your email address and click Create new account.
You should receive a confirmation email to proceed with the account confirmation process. The email will be sent from admin@cktmatter.org and will have the subject "Welcome to CKT Science".
Follow the instructions in the email.
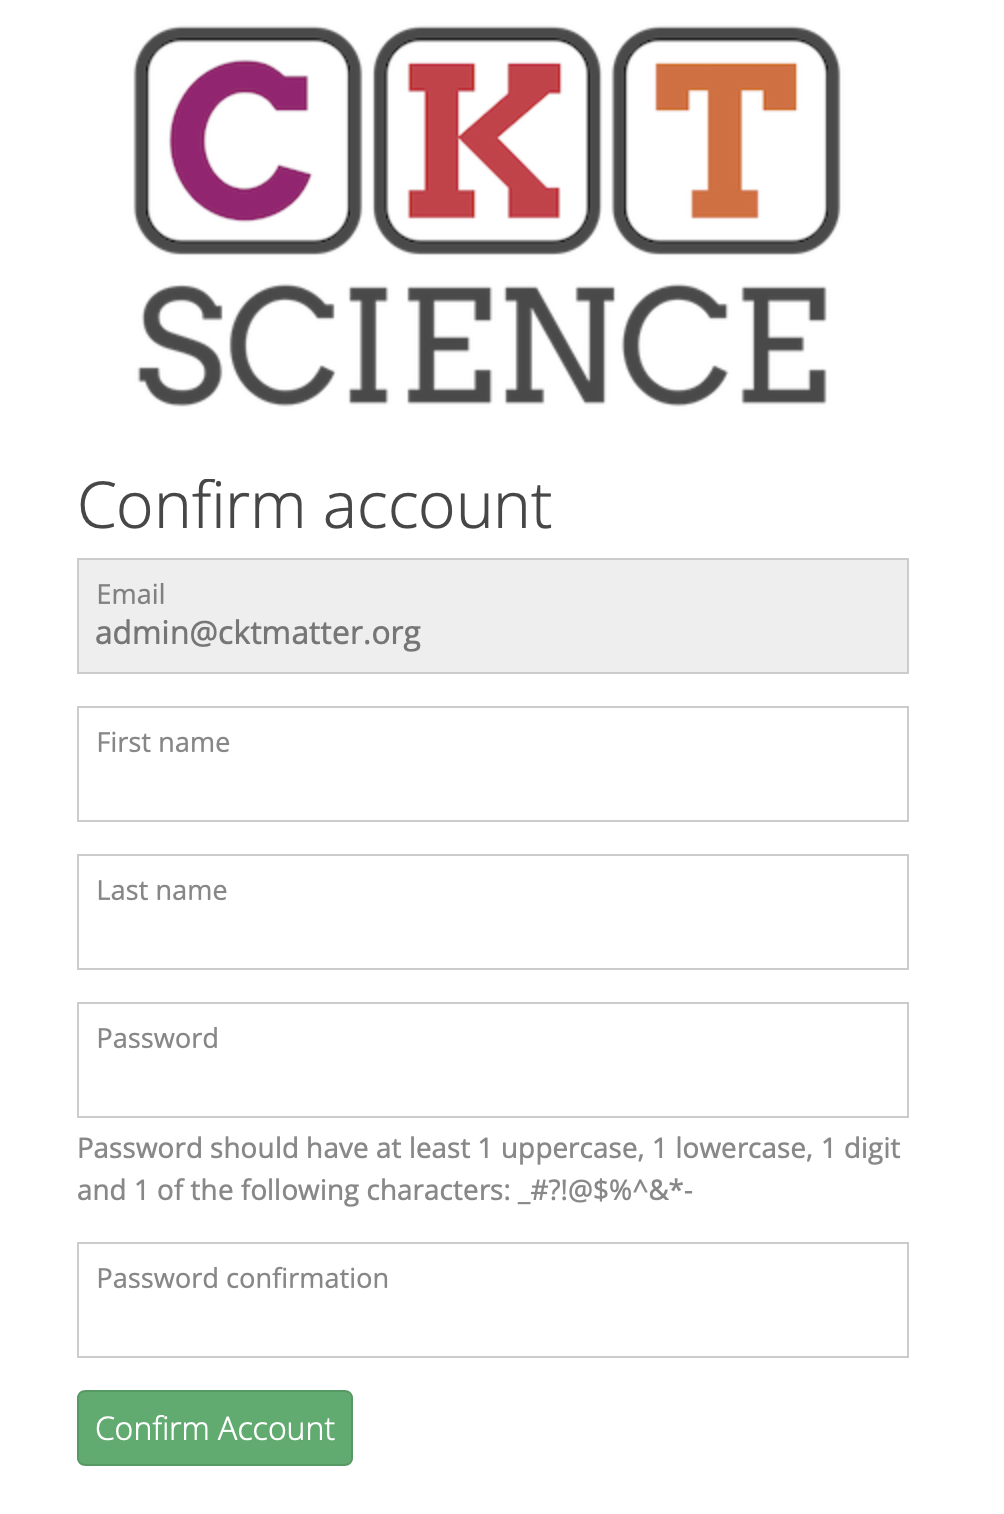
3. Click on the link provided in the email to go to the confirm account page:
- Entering Your Name:
- First Name: Enter your legal first name into the "First Name" field.
- Last Name: Enter your legal surname into the "Last Name" field.
- Creating Your Password:
Your password must adhere to the following complexity requirements:
- At least 1 Uppercase Letter: Include at least one uppercase letter (A-Z).
- At least 1 Lowercase Letter: Include at least one lowercase letter (a-z).
- At least 1 Digit: Include at least one numerical digit (0-9).
- At least 1 Special Character: Include at least one of the following special characters: _ # ? ! @ $ % ^ & * -
- Minimum Length: A minimum length of 8 characters is required, but we recommend a minimum length of 12 characters.
- Password: Follow the above password creation guidelines. Enter the password into the Password field and re-enter your password into the Password confirmation field, ensuring every character matches your original entry.
- Confirmation and Submission:
Review all entered details to ensure accuracy and click Confirm Account.
You should be redirected to the CKT Science home page and be logged in to your account.
Note that the created account allows you to assign the CKT matter assessment to your class of pre-service teachers. If you want to take the assessment yourself, you will need to create an individual user account at https://cktmatter.com/enroll/cktmatter with a different email address from what you used to create your teacher educator account.
Home Page
The home page is the first page you will see after logging in to your account. The home page contains the following sections:
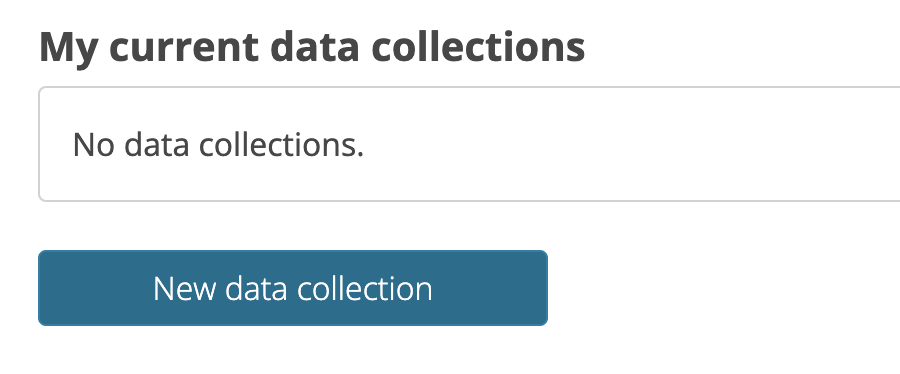
- My Current Data Collections
This section contains a list of all data collections that are currently active or are scheduled in the future.
- My Classes
This section shows a list of your current classes.
Creating new data collections
You can create 2 types of data collections for a specific class:- Single Application: Schedule only a single test.
- Pre-Post Application: Schedule two separate tests, one before and one after a learning period.
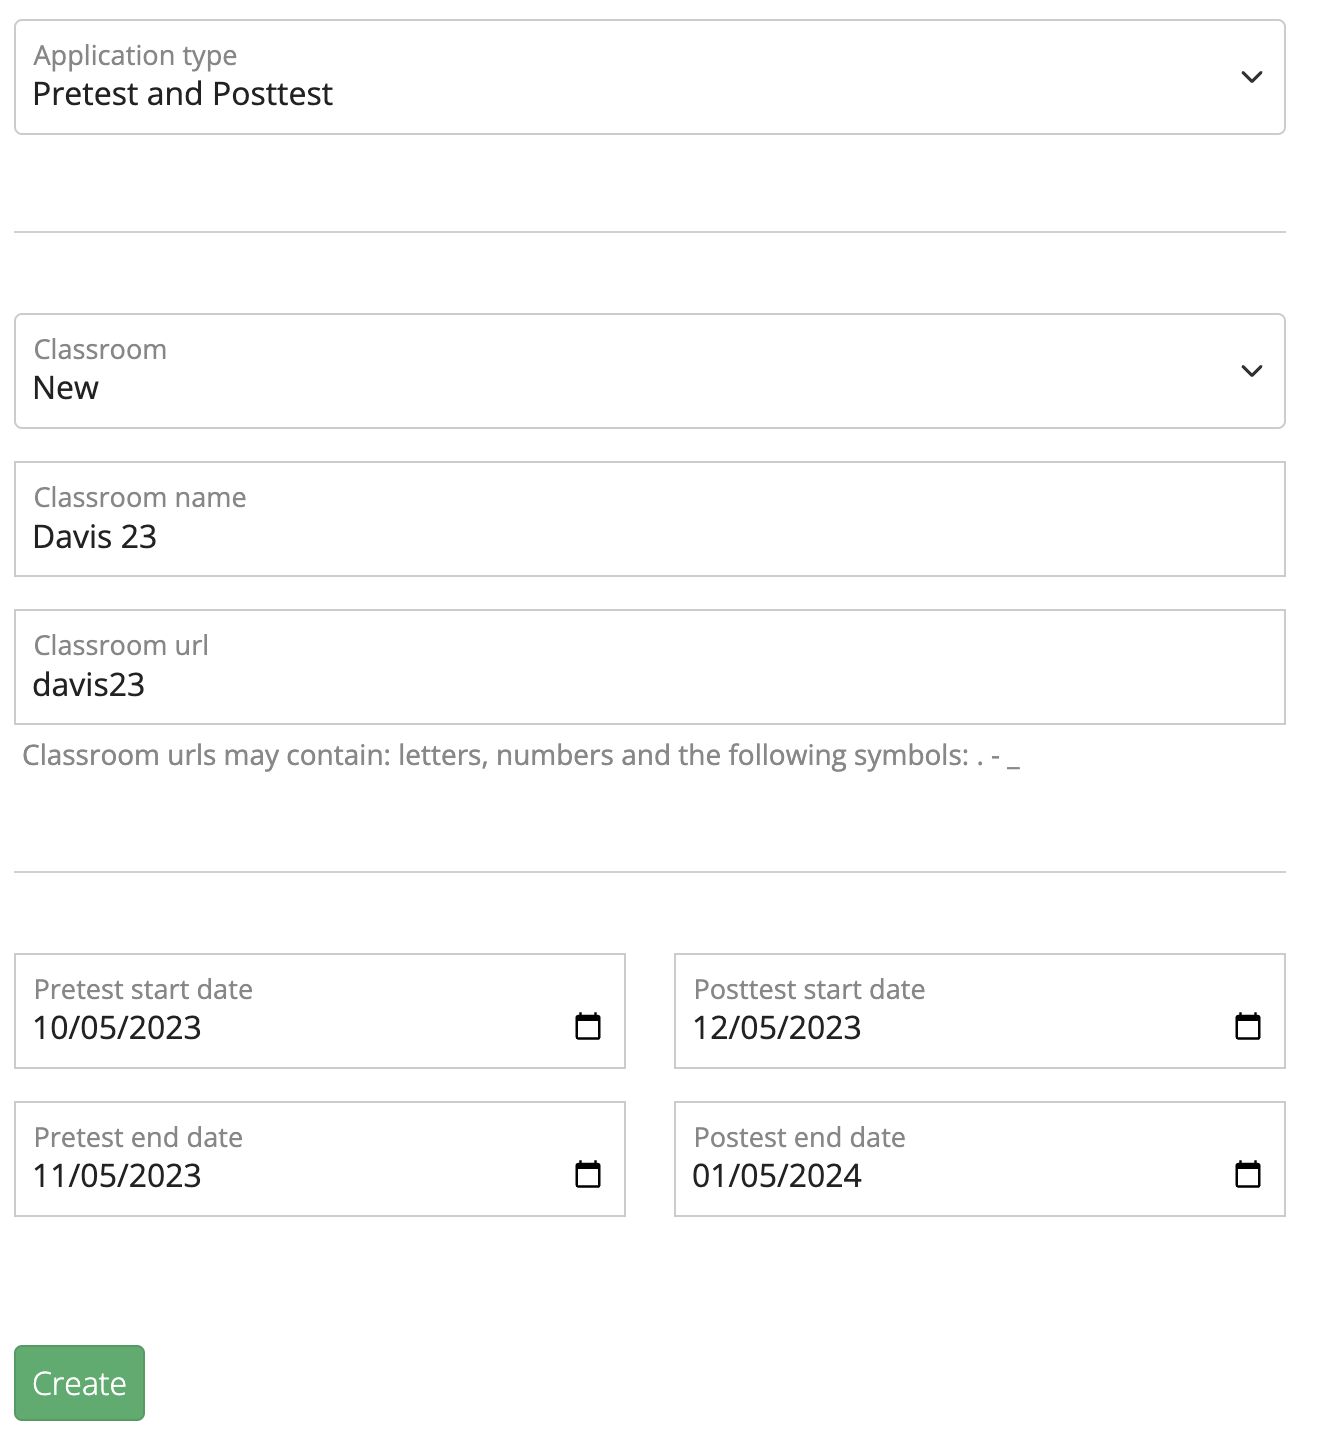
- In application type select Pretest and Posttest
- In Classroom select whether the data collection will be associated with a new classroom or an existing one:
- New Classroom: Select this option if you want to create a new classroom for this data collection.
Input the classroom name and a unique URL for the classroom.
The class name will serve as an identifier within the application to distinguish the respective classroom.
The class url will be the name in the url that students will use to enroll in this class.
The URL can contain letters, numbers, and the symbols: . - _ - Existing Classroom: Select this option if you want to associate this data collection with an existing classroom.
- New Classroom: Select this option if you want to create a new classroom for this data collection.
- DatesEnter the Start and End dates for both the pretest and posttest.
- Review all entered details to ensure accuracy and click Submit.
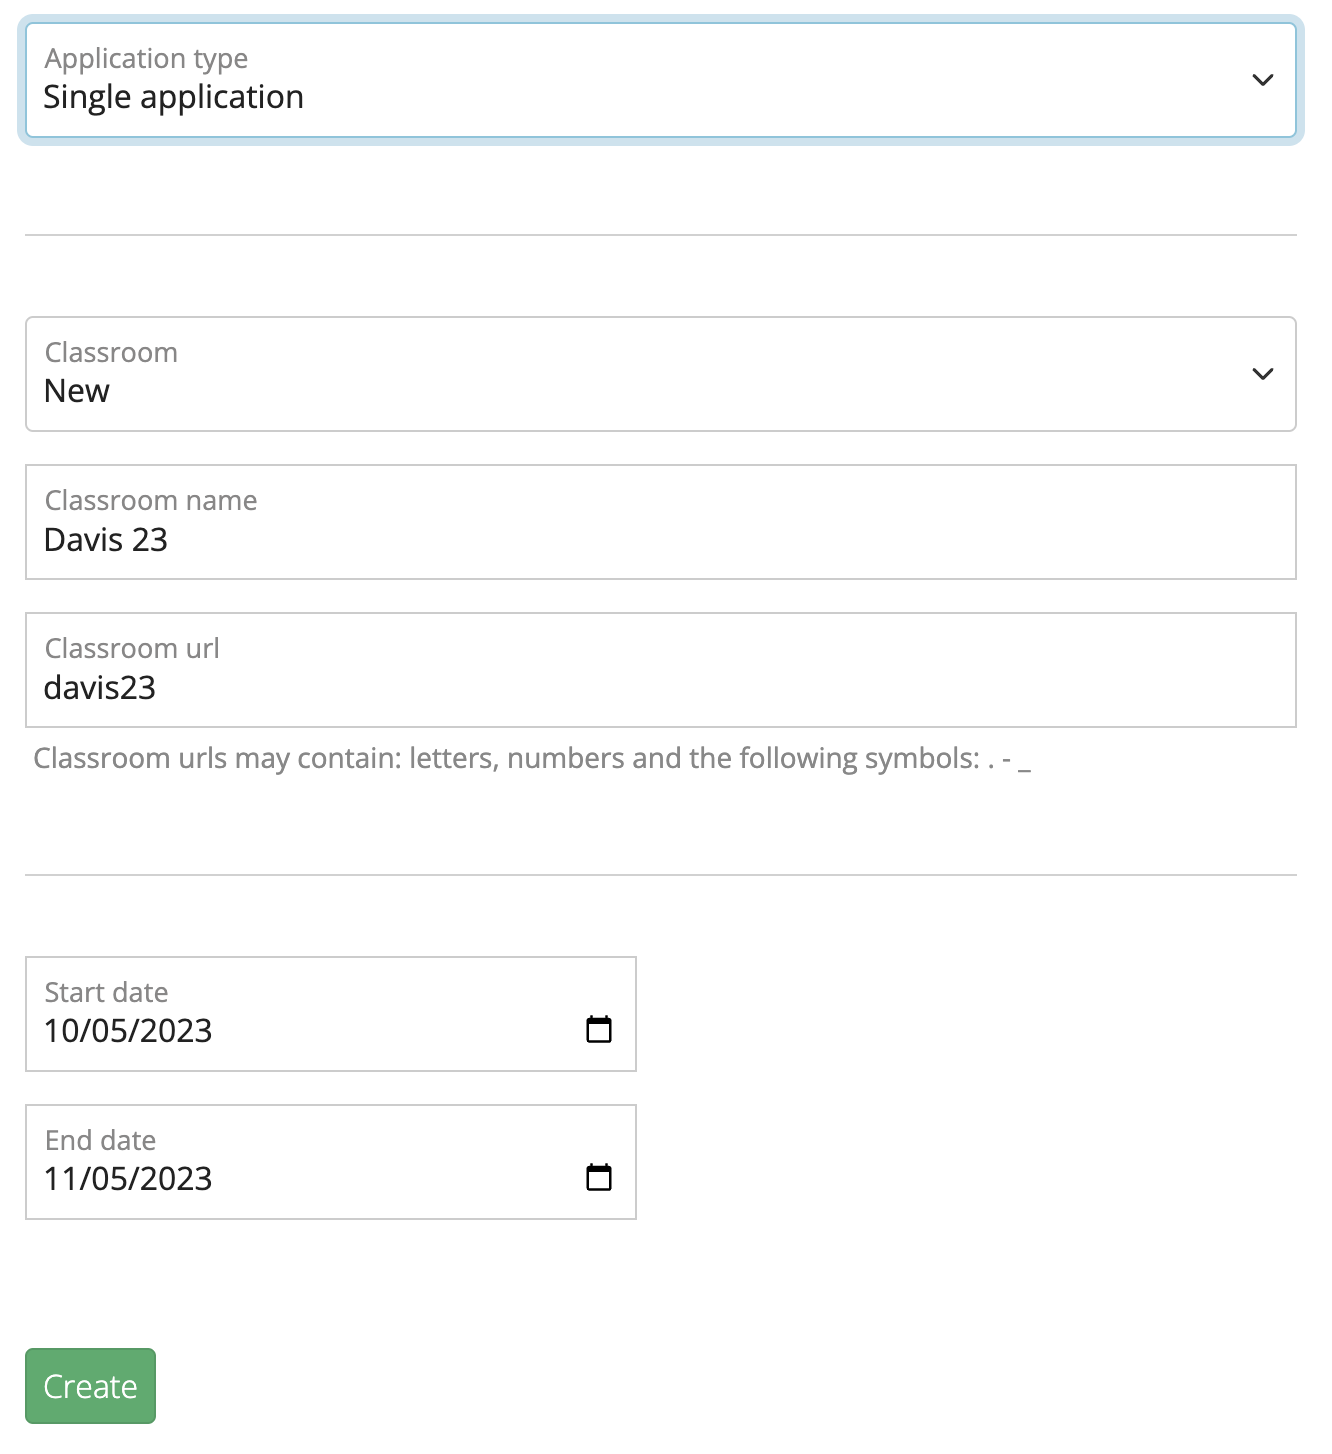
- In application type select Single application
- In Classroom select whether the data collection will be associated with a new classroom or an existing one:
- New Classroom: Select this option if you want to create a new classroom for this data collection.
Input the classroom name and a unique URL for the classroom.
The class name will serve as an identifier within the application to distinguish the respective classroom.
The class url will be the name in the url that students will use to enroll in this class.
The URL can contain letters, numbers, and the symbols: . - _ - Existing Classroom: Select this option if you want to associate this data collection with an existing classroom.
- New Classroom: Select this option if you want to create a new classroom for this data collection.
- DatesEnter the Start and End dates for the test.
- Review all entered details to ensure accuracy and click Submit.
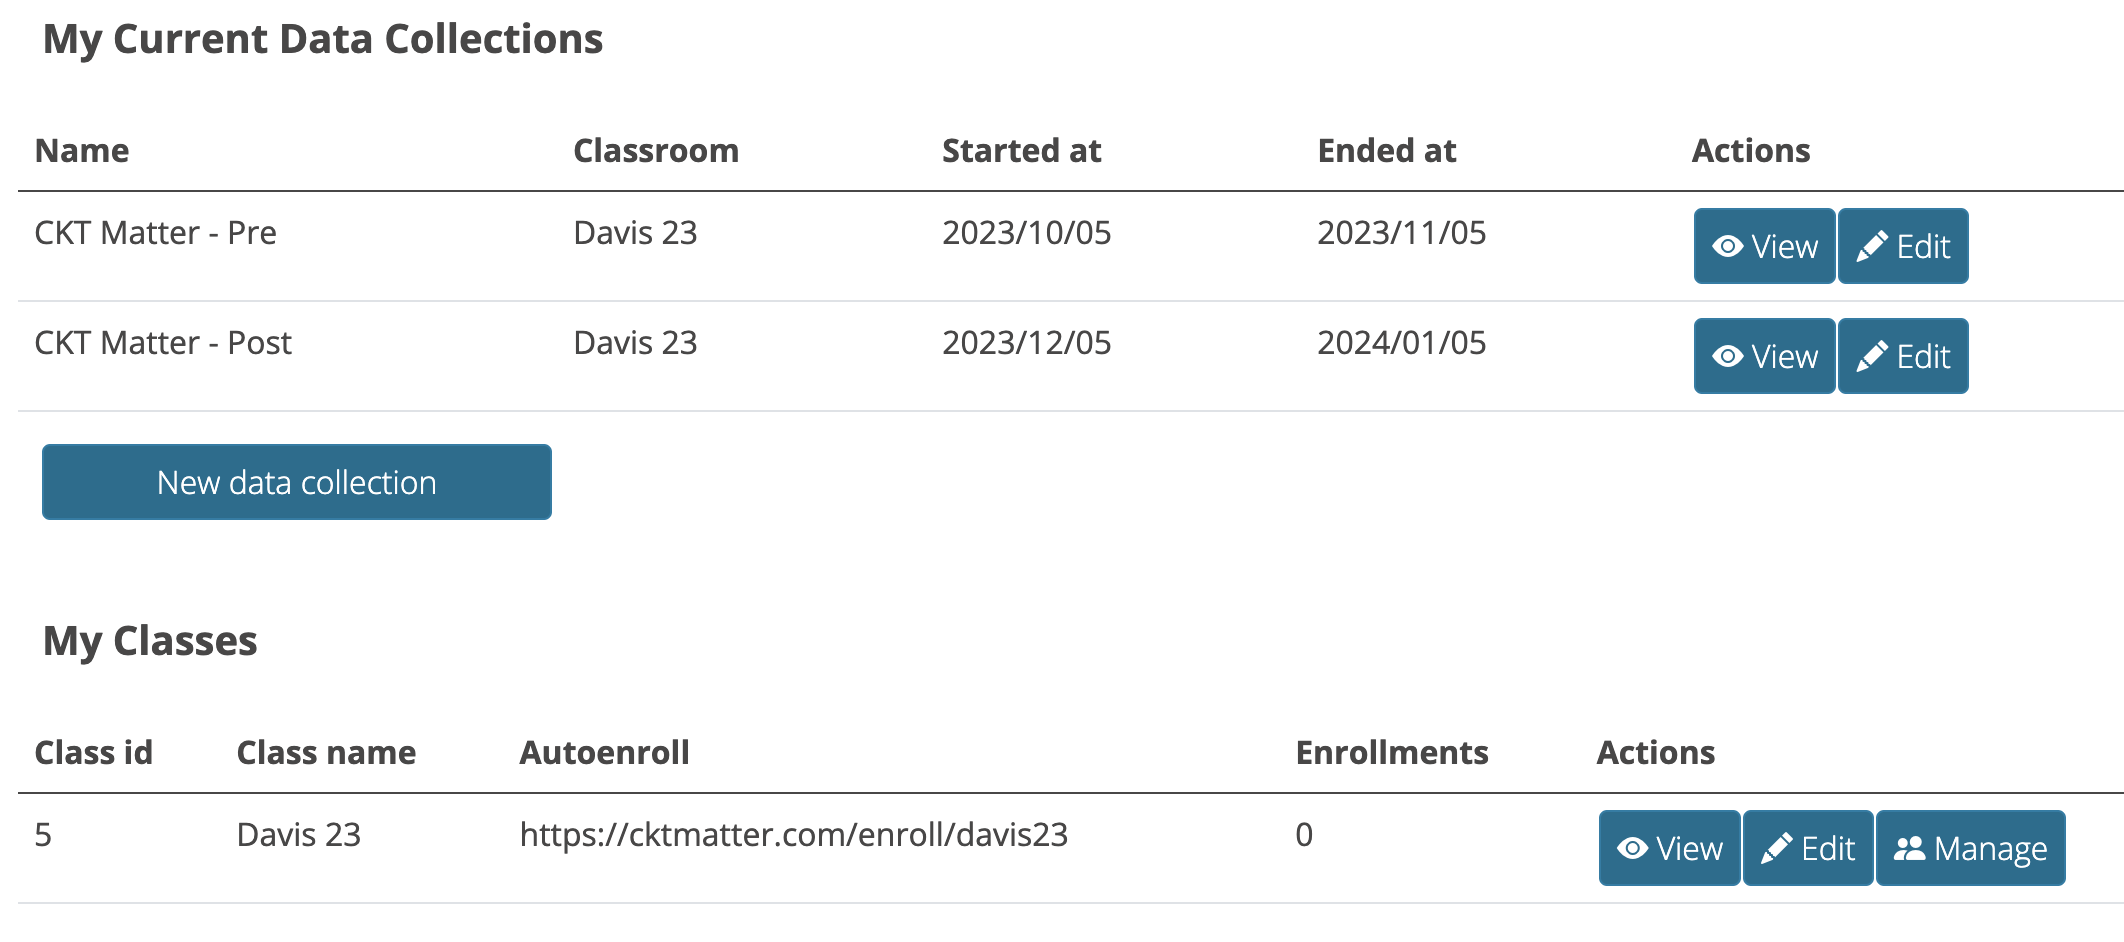
- After successfully creating the data collection, you will be redirected to your Home page.
- Within the My Current Data Collection table, you can view the dates for each test you have created, along with the name of the class assigned to each test.
- Within the My Classes table, copy the "Autoenroll" url for the class within the data collection, and share it with individuals in your class. The autoenroll URL will direct them to a webpage to create an account that will be linked to your class. They will be able to take the test through their account, and you will be able to view their test scores in your account.
- If you have both pre and post-data collection, individuals will need to use the auto-enroll URL just once to enroll in the class. Afterward, they can either use the main login page at https://cktmatter.org, or the auto-enroll URL. However, they should not create a new account. Instead, they should click on the link that says 'Enroll with existing account'. Within their account, they will be able to view and answer the tests available at that time, based on the dates you set when creating the data collection.
Viewing data collection progress

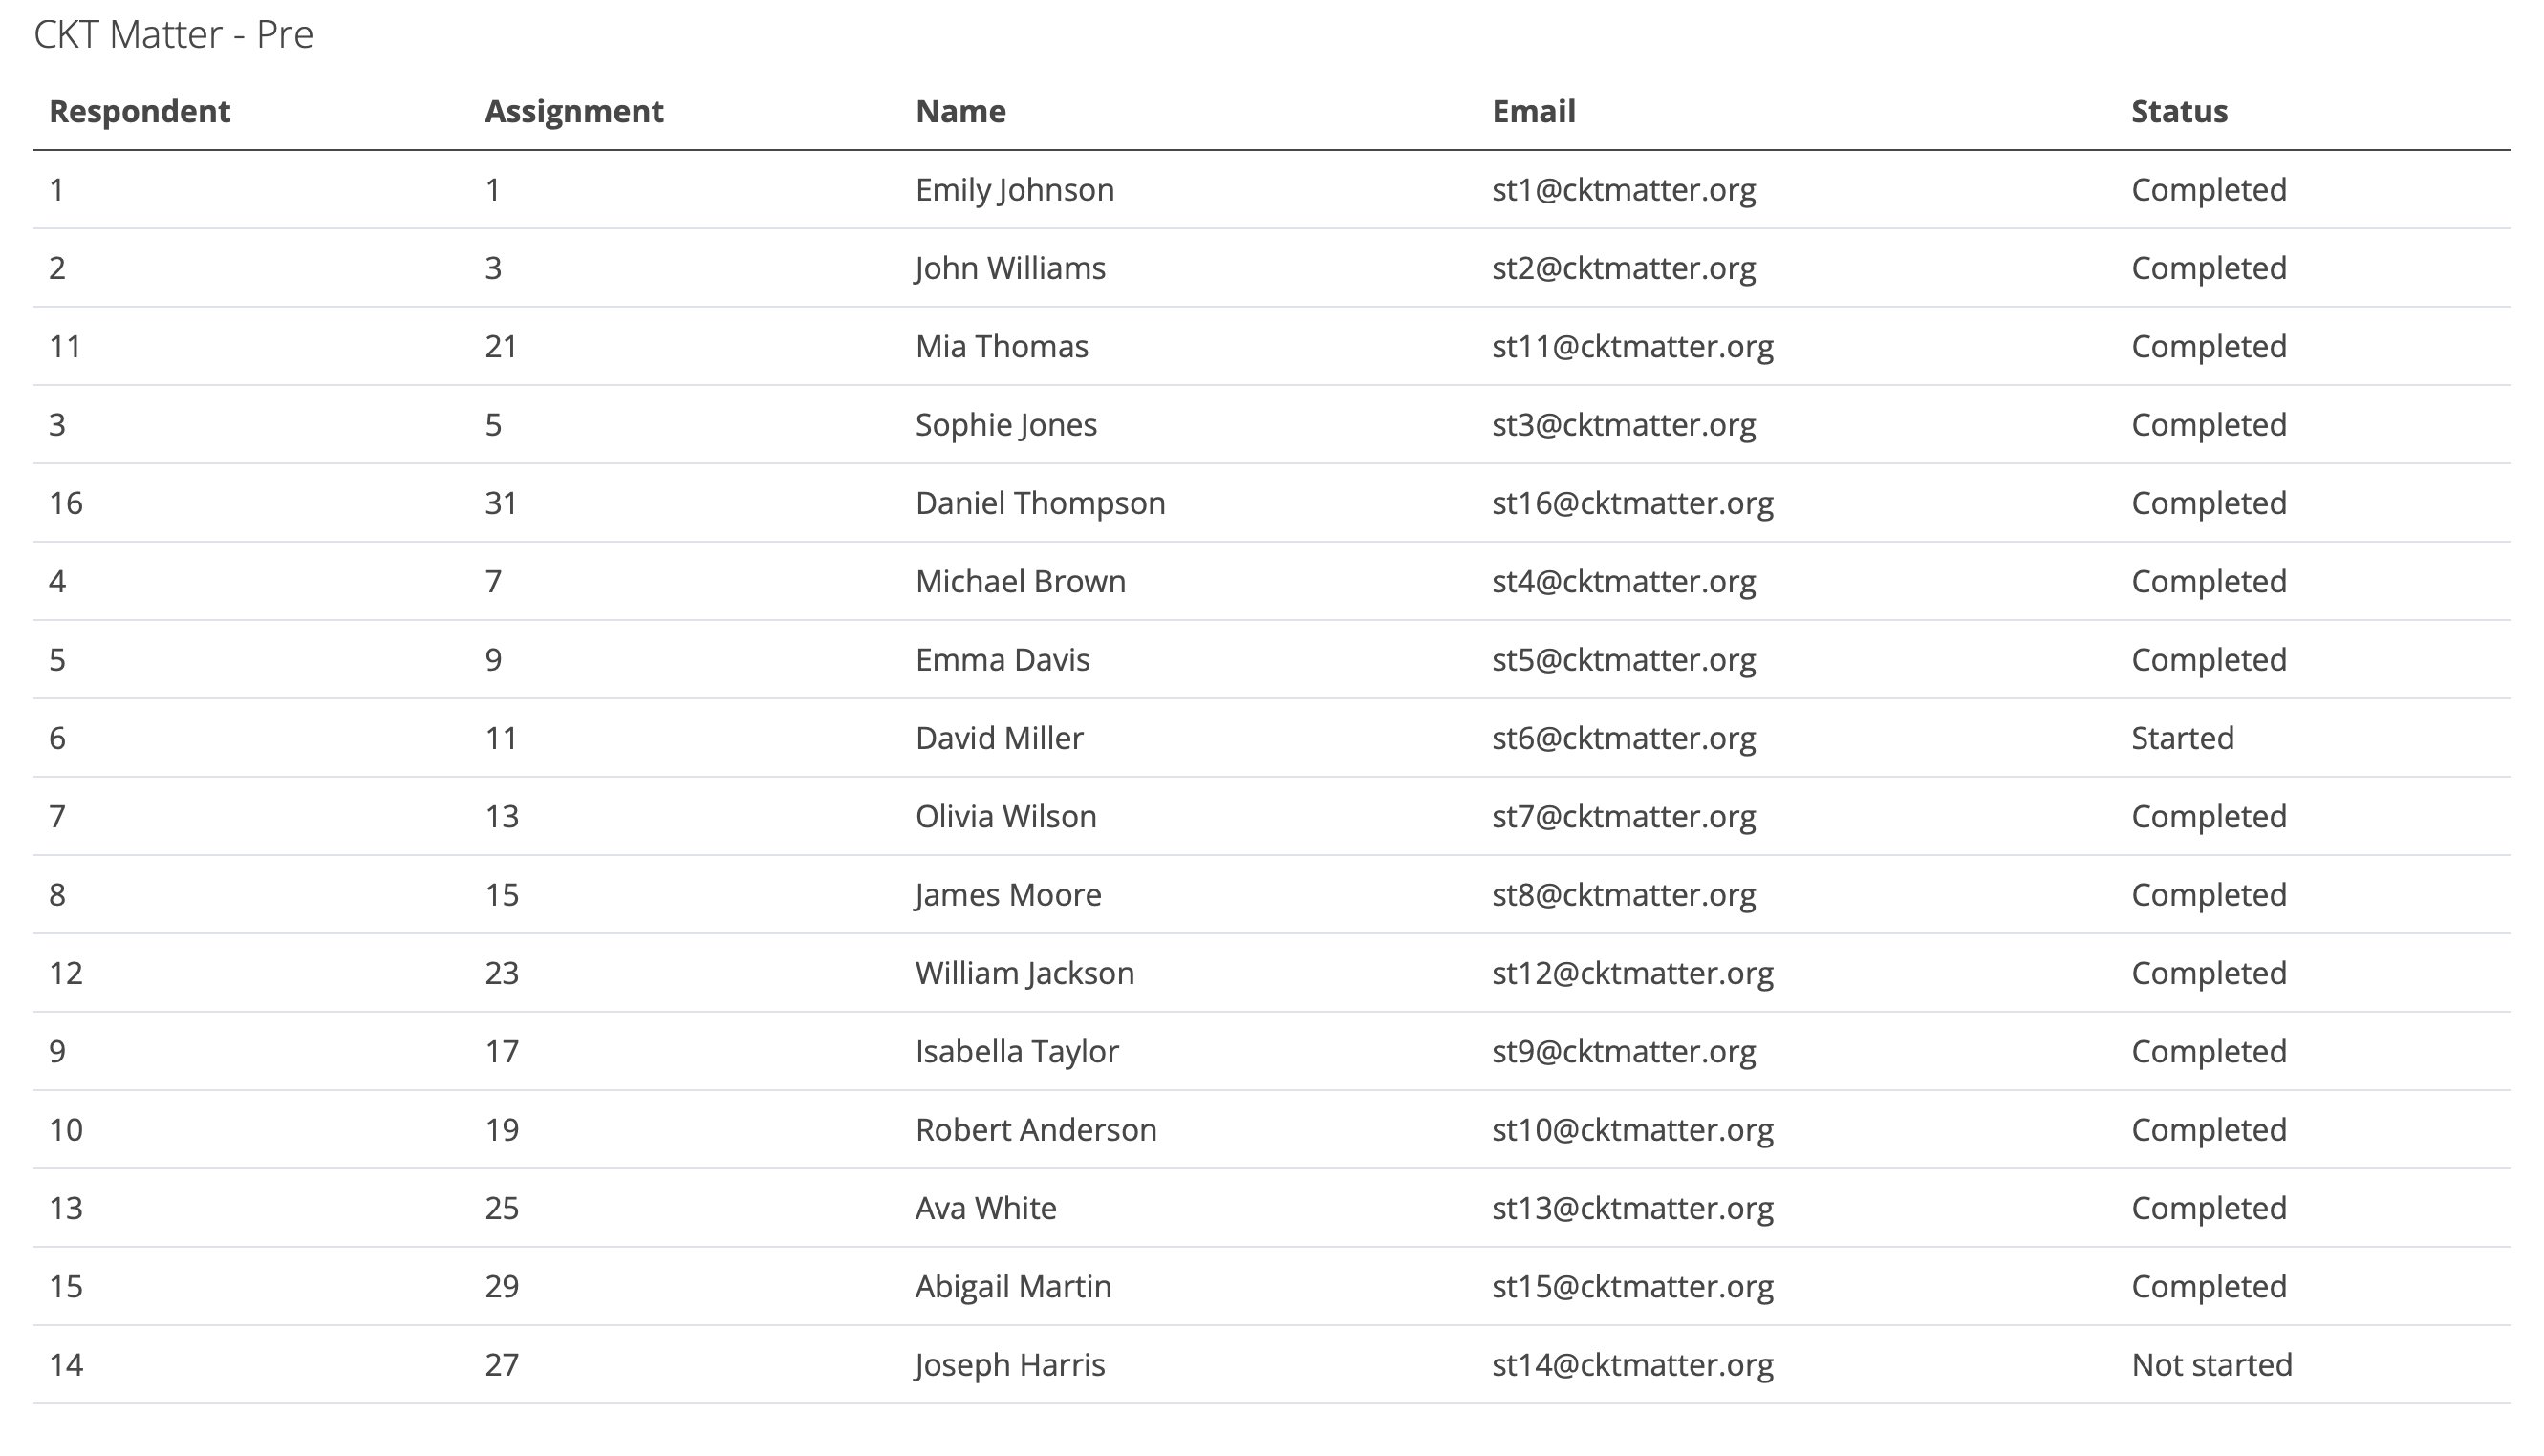
What to do if I don't recognize someone in my class?
Completed status means the user finished the test.
Started status means the user started the test but hasn't finished.
Not started status means the user enrolled in the class but hasn't started the test yet.
Viewing data collection results
To view results of your class' performance, go to the reports module by clicking Reports in the navigation menu.View Reports


3. On the top right side of the page, you will see a navigation menu to switch between reports.
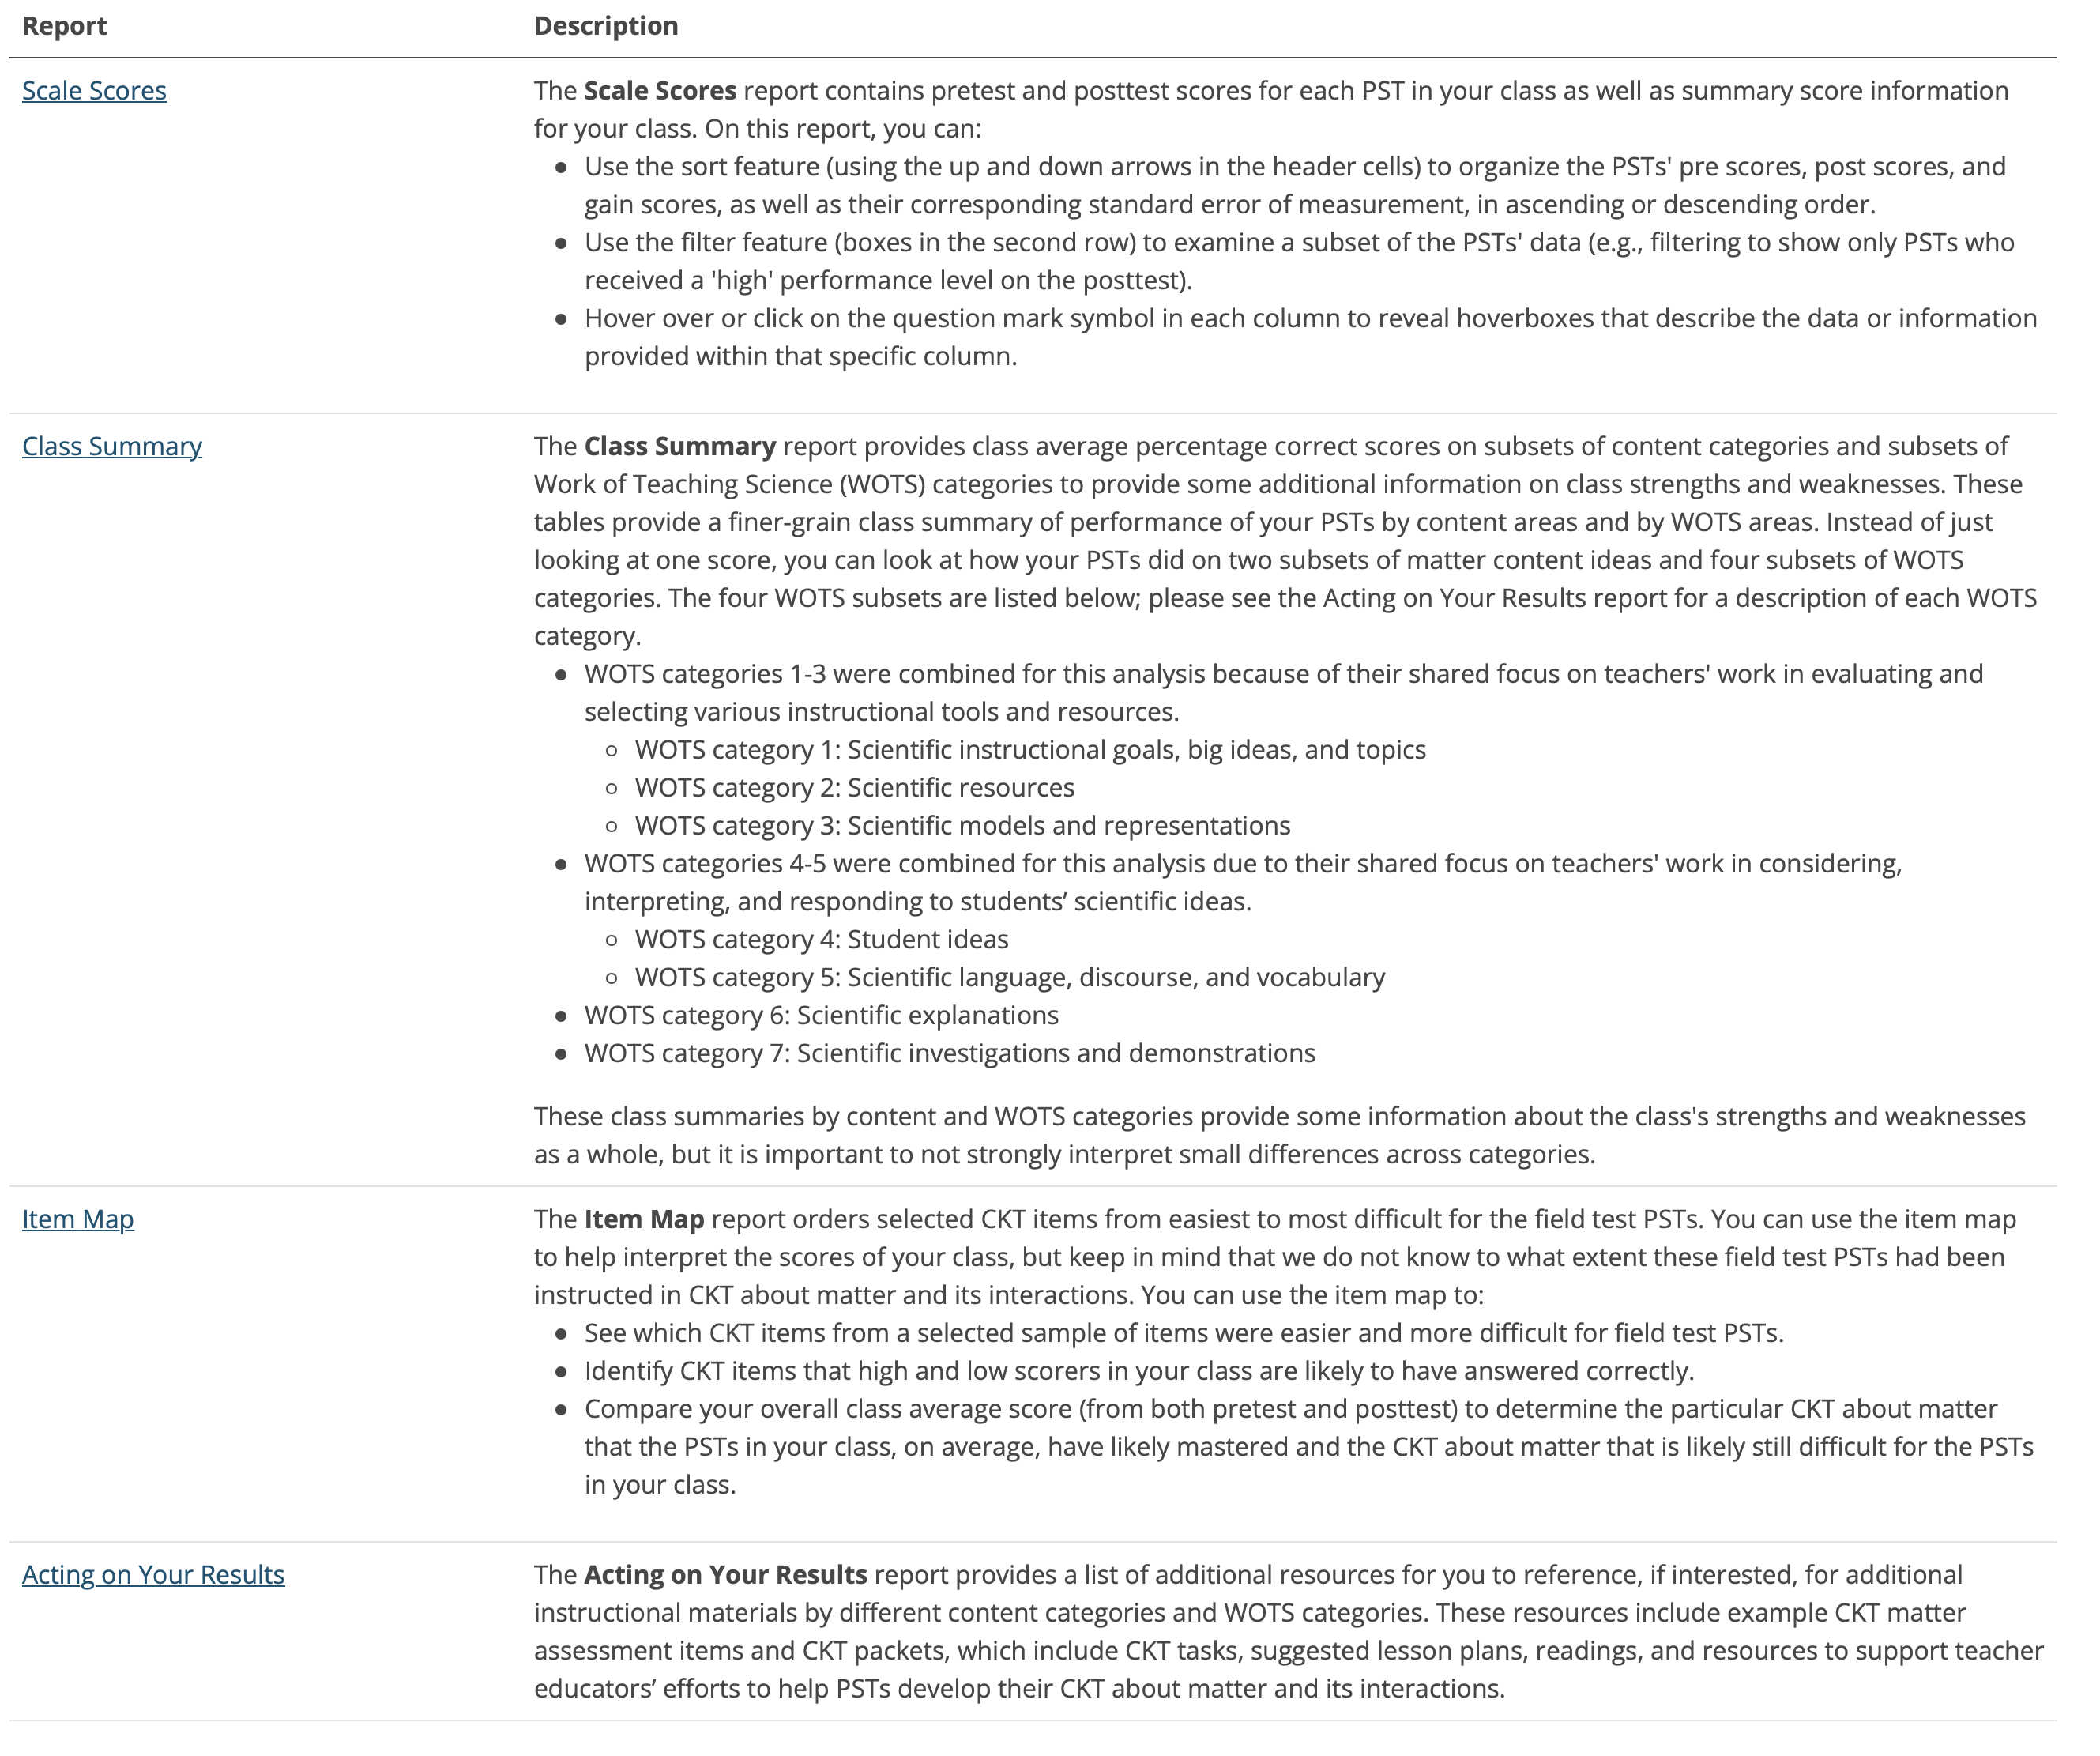
5. To navigate to a particular report, click on the name of a report either in the report navigation menu or in the description table.
Scale Scores
The scale score report page shows the scale score for each user in the selected class, a graph of the class averages, counts and percentages of users at each performance level for the test, and a histogram of the class's scores.
Scale Score Table

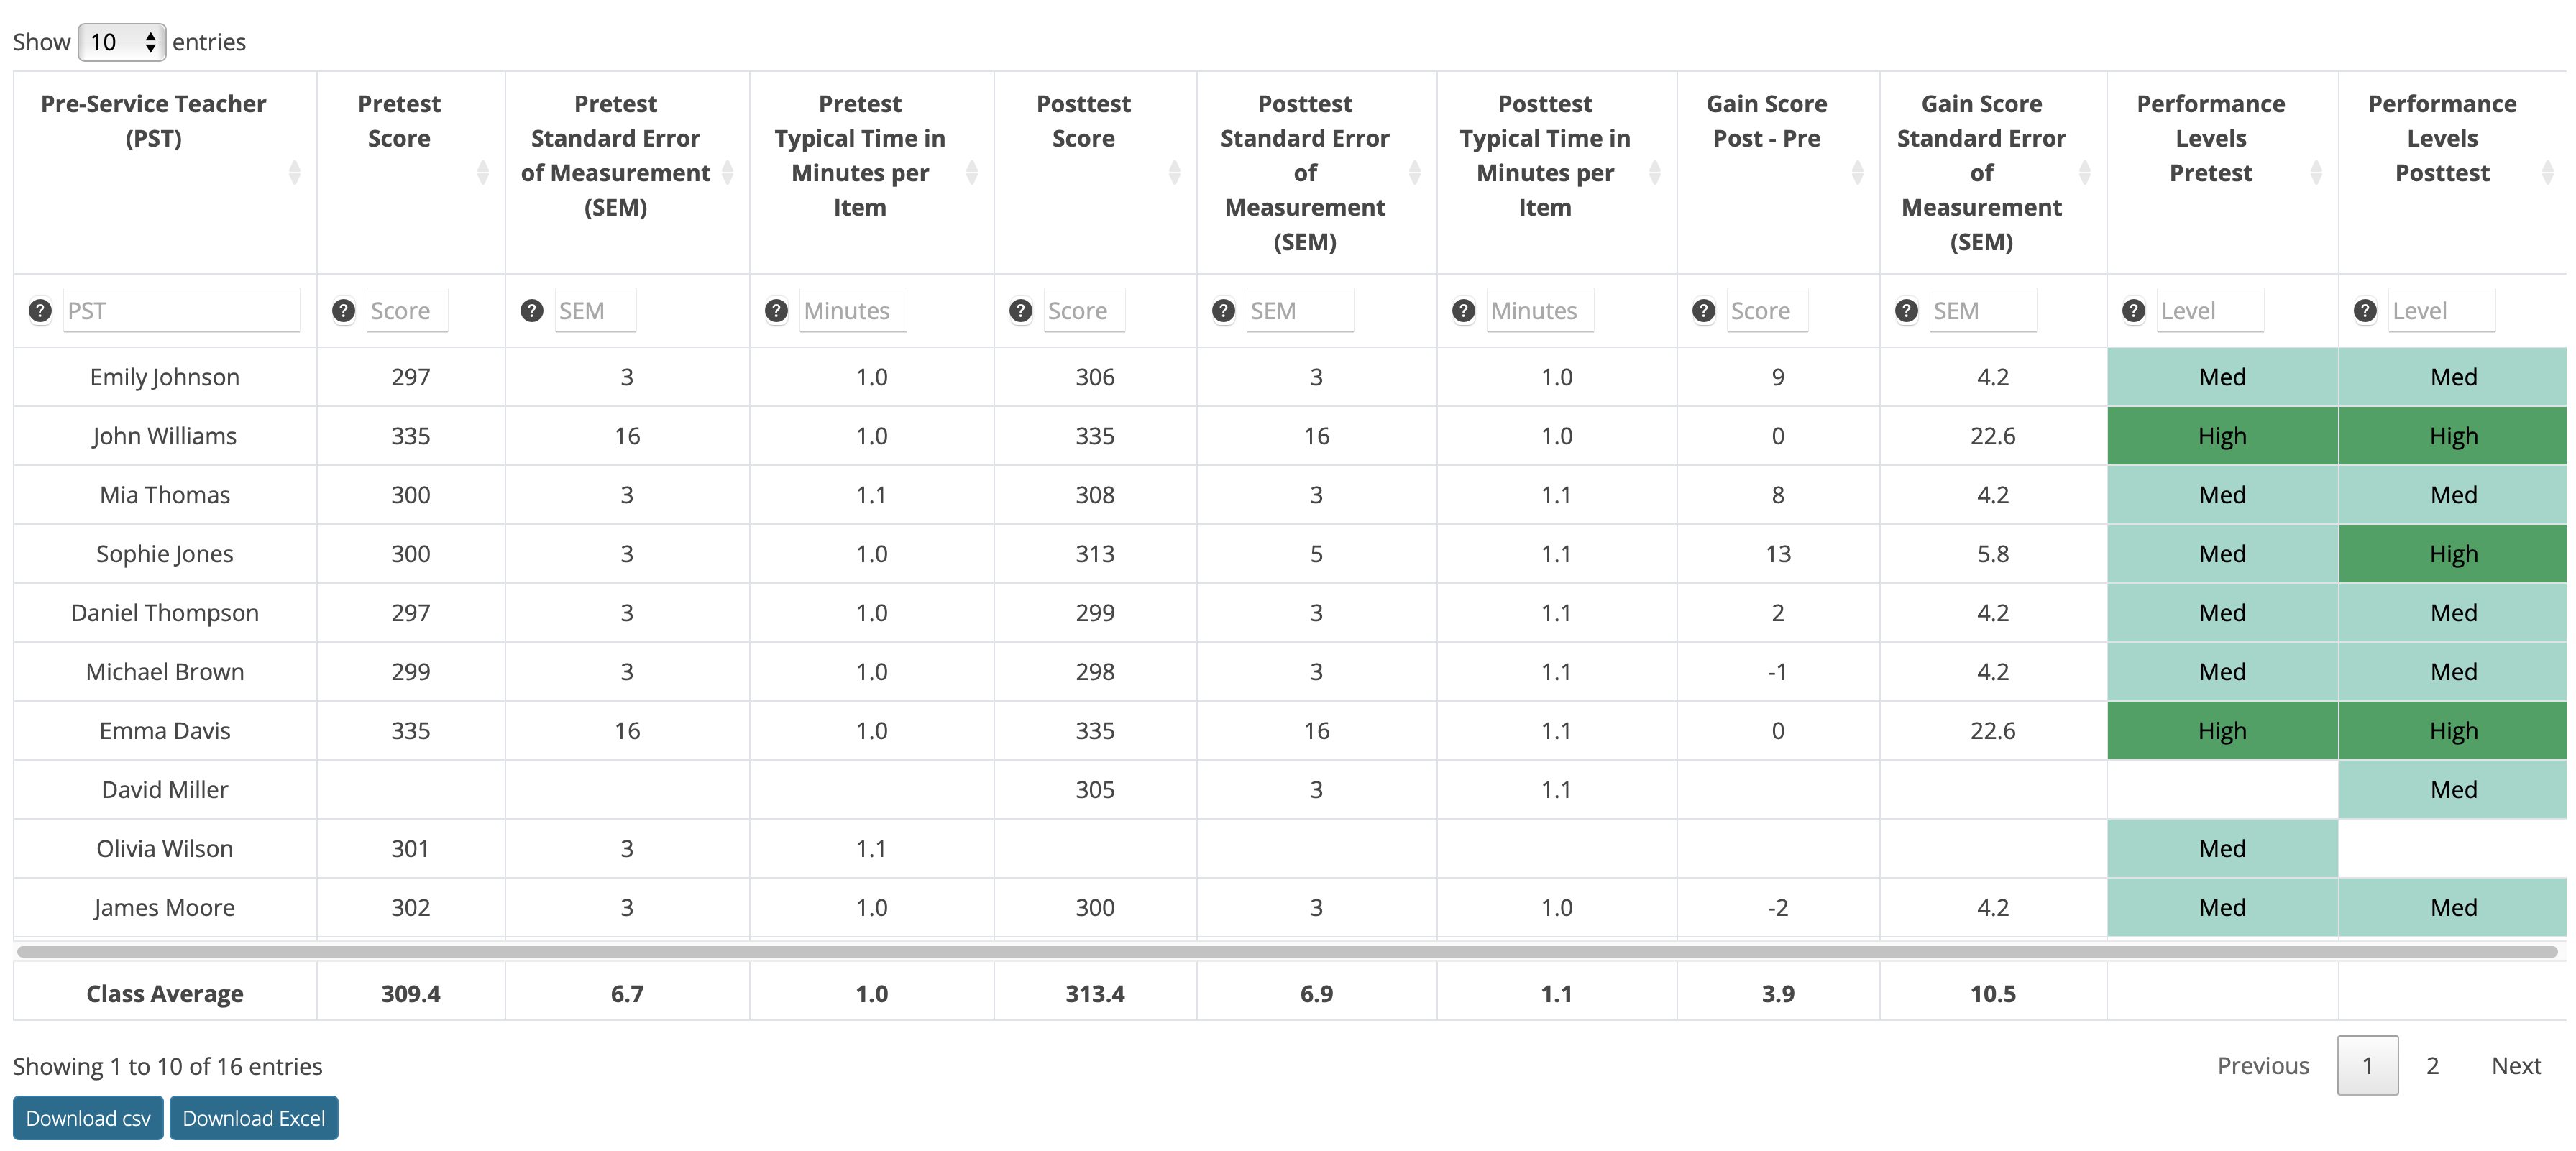
On the top of the table, on the left side, you can choose how many rows you want to see per page in the table. The default is 25:
At the bottom of the page you can navigate between pages:
To sort the table by a column, click on the column header: When a triangle is pointing up, the data is sorted in ascending order, when the triangle is pointing down, the data is sorted in descending order.
To filter the table by a column value, type the value in the box below the column header. For example, to show only individuals scoring at the "Med" performance level in the Pretest, write "Med" in the box below the Pretest column header: 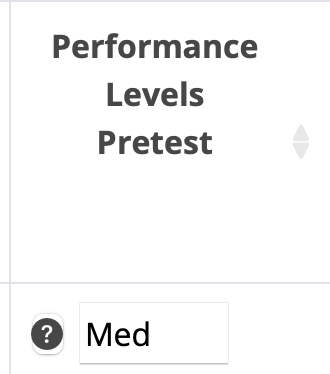
To download the table, click Download csv or Download Excel at the bottom left side of the table.
To download answers and scores for each question, go to the Export Data section.
Class Average Scores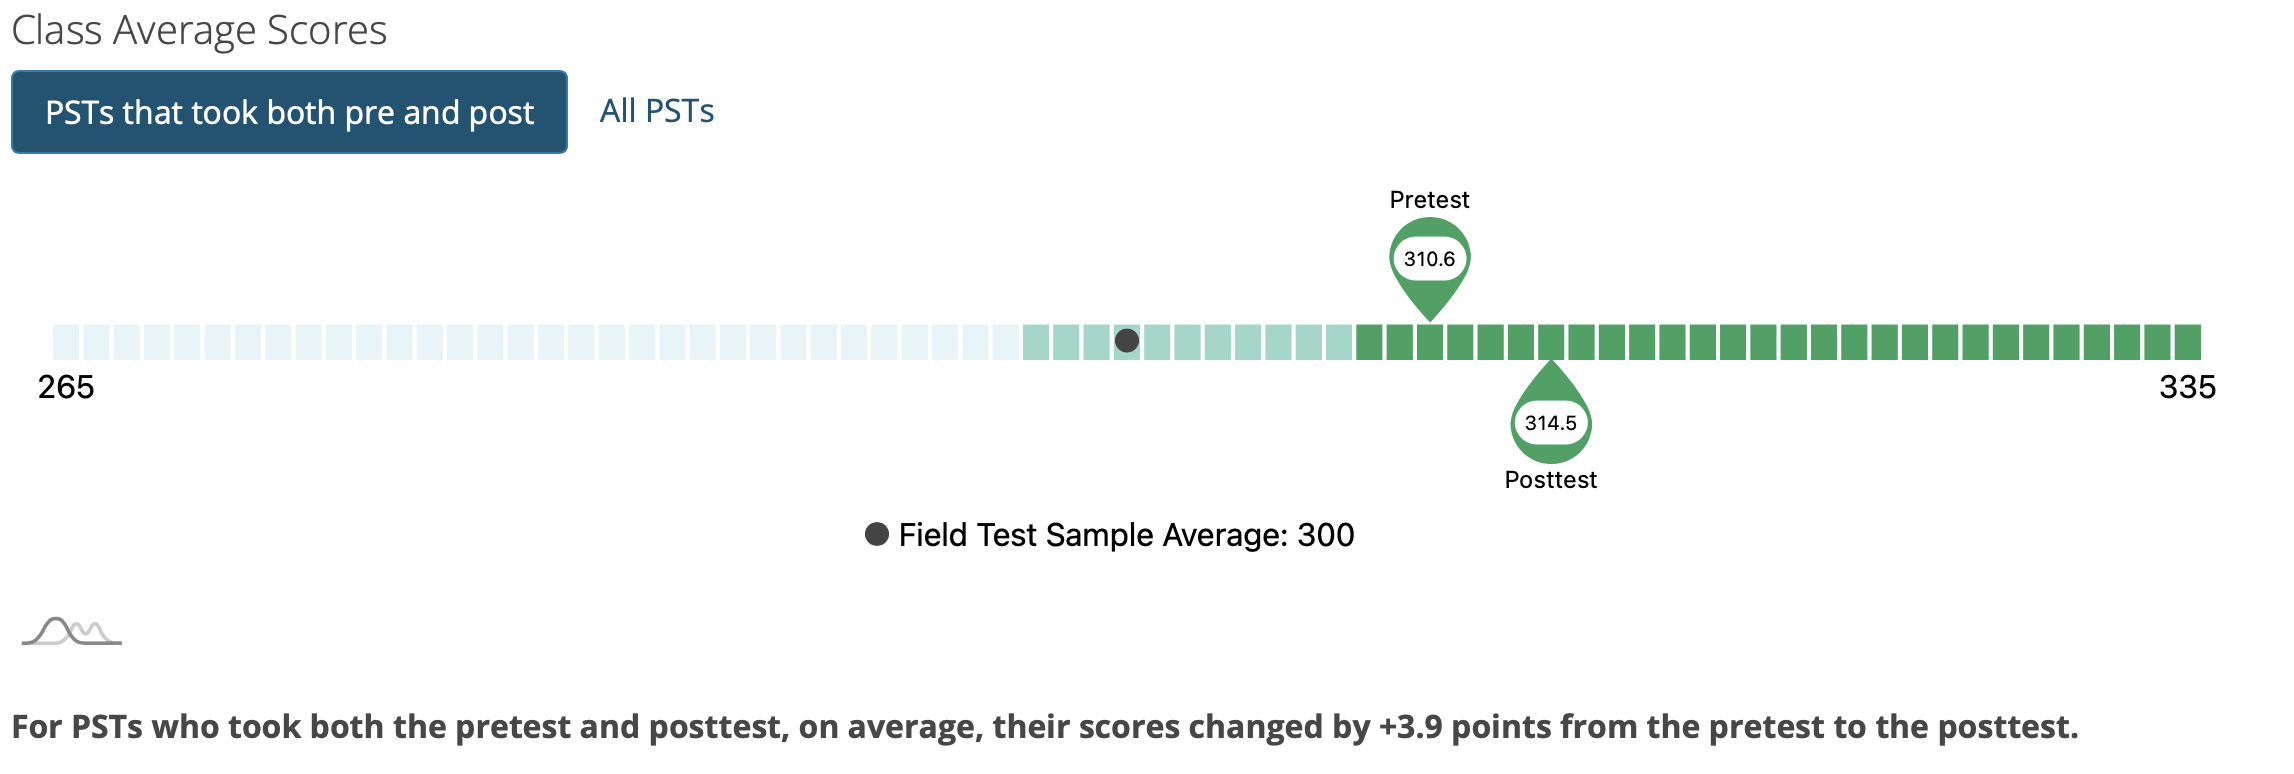
The Class Average Scores graph shows the average for your class for each test in the data collection group.
If you created a pre and post test, you will see two button to either show "PSTs that took both pre and post" or show "All PSTs". The average gain score only uses PSTs that took both the pre and post test.
Performance Levels for the Pretest and Posttest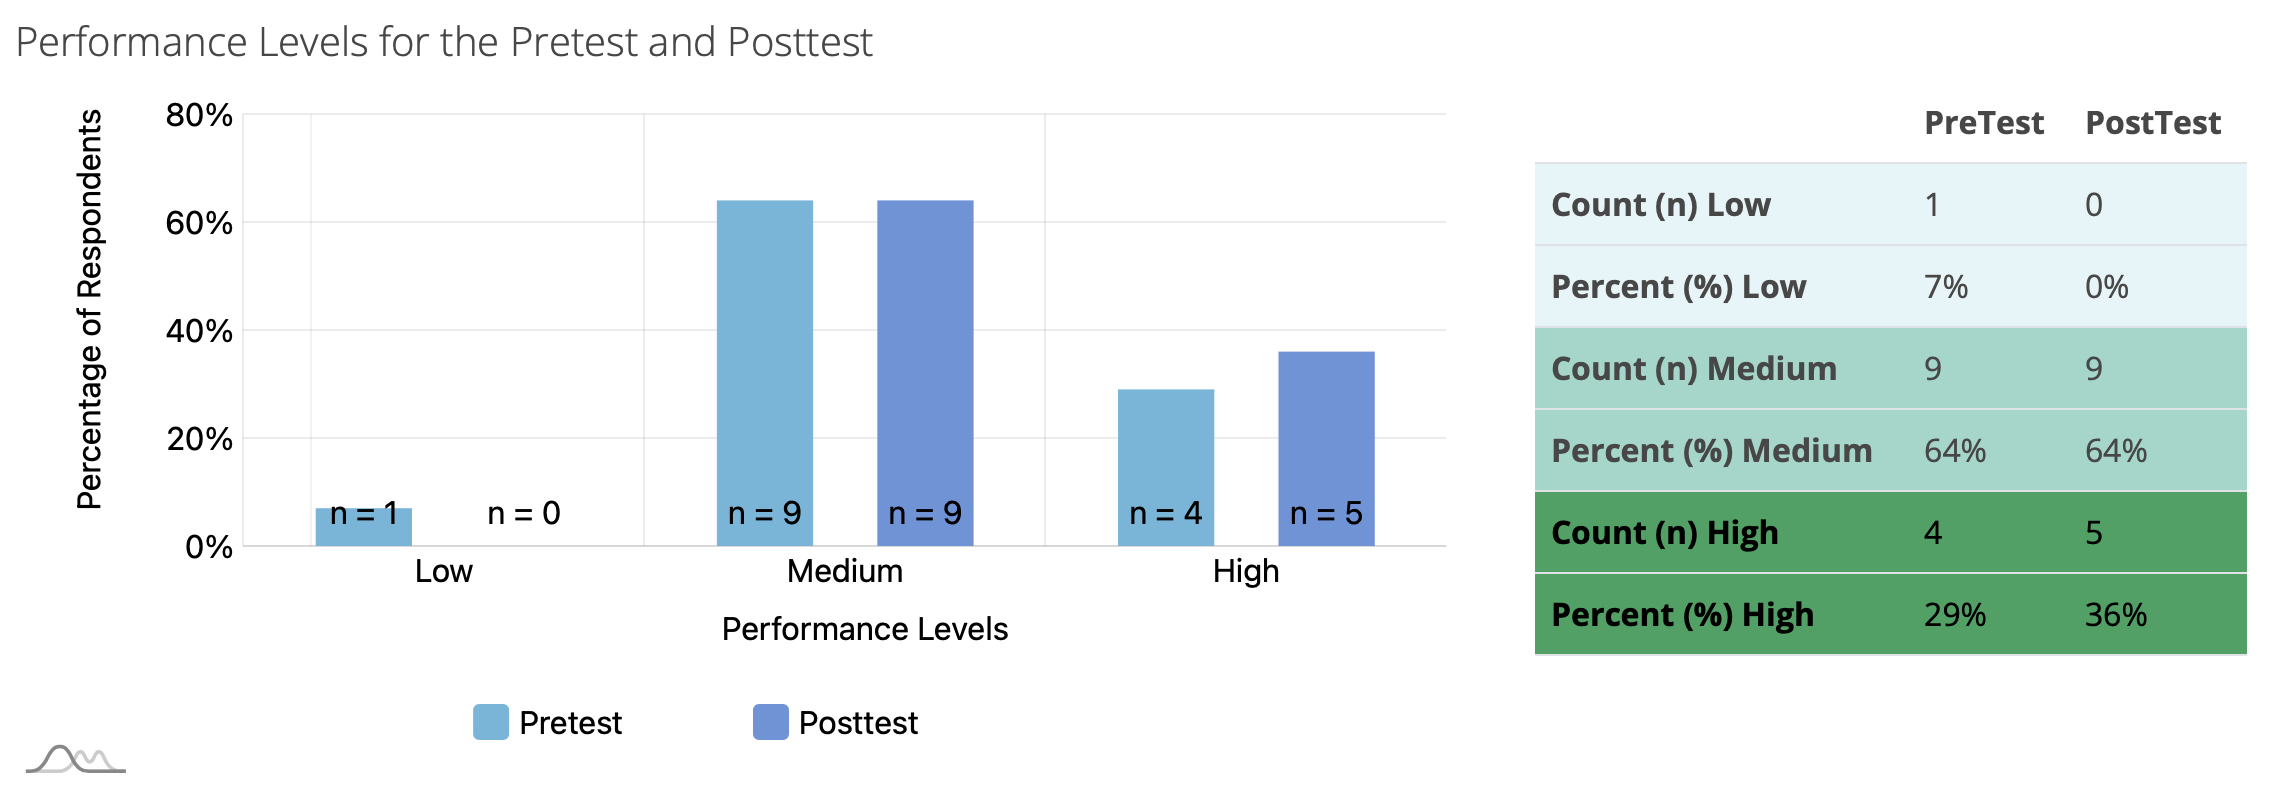
The Performance Levels for the Pretest and Posttest graph shows the percentage of pre-service teachers in your class at each performance level for the Pretest and Posttest. If the data collection is for a single application, this graph is titled Performance Levels and shows the performance level results for the single application only.

The Performance Levels for the Pretest and Posttest graph shows the percentage of pre-service teachers in your class at each performance level for the Pretest and Posttest. If the data collection is for a single application, this graph is titled Performance Levels and shows the performance level results for the single application only.
Distribution of Class's Scores
The Distribution of Class's Scores graph shows the distribution of scores for your class in the Pretest and Posttest.

The Distribution of Class's Scores graph shows the distribution of scores for your class in the Pretest and Posttest.
Class Summary
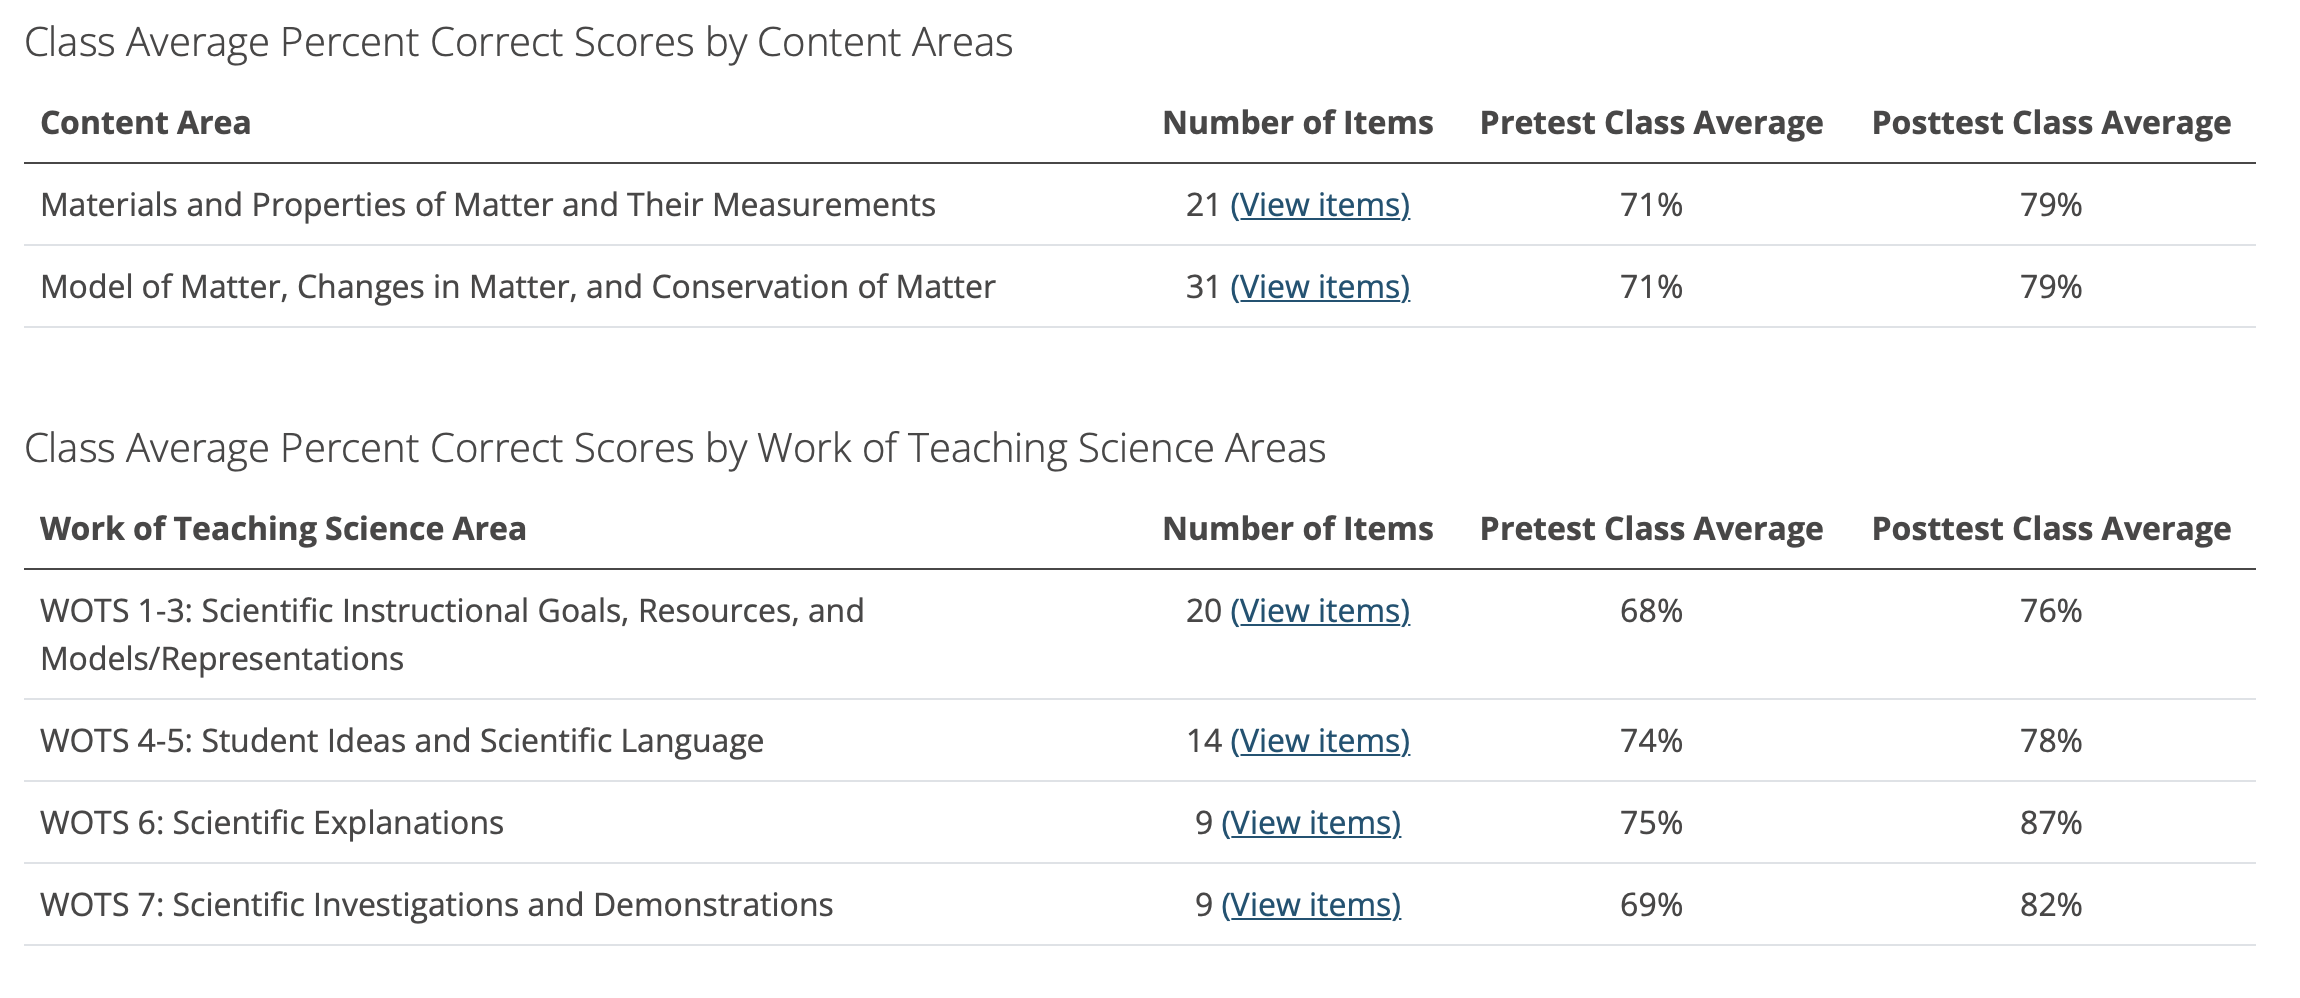
The tables in this report provide class summaries of performance of your pre-service teachers (PSTs) by content areas and Work of Teaching Science (WOTS) areas. Each item was aligned to a specific content area and WOTS area.
Item Map
The item map is a tool to help interpret your pre-service teachers' (PSTs') CKT test scores. You can use the item map to help interpret the scores of your class. For instance, you can use the item map to identify CKT items that high and low scorers in your class are likely to have answered correctly.
Acting on Your Results
This report provides information about sample CKT matter items and instructional packets for use by elementary science teacher educators.

Export Data

Export Scores
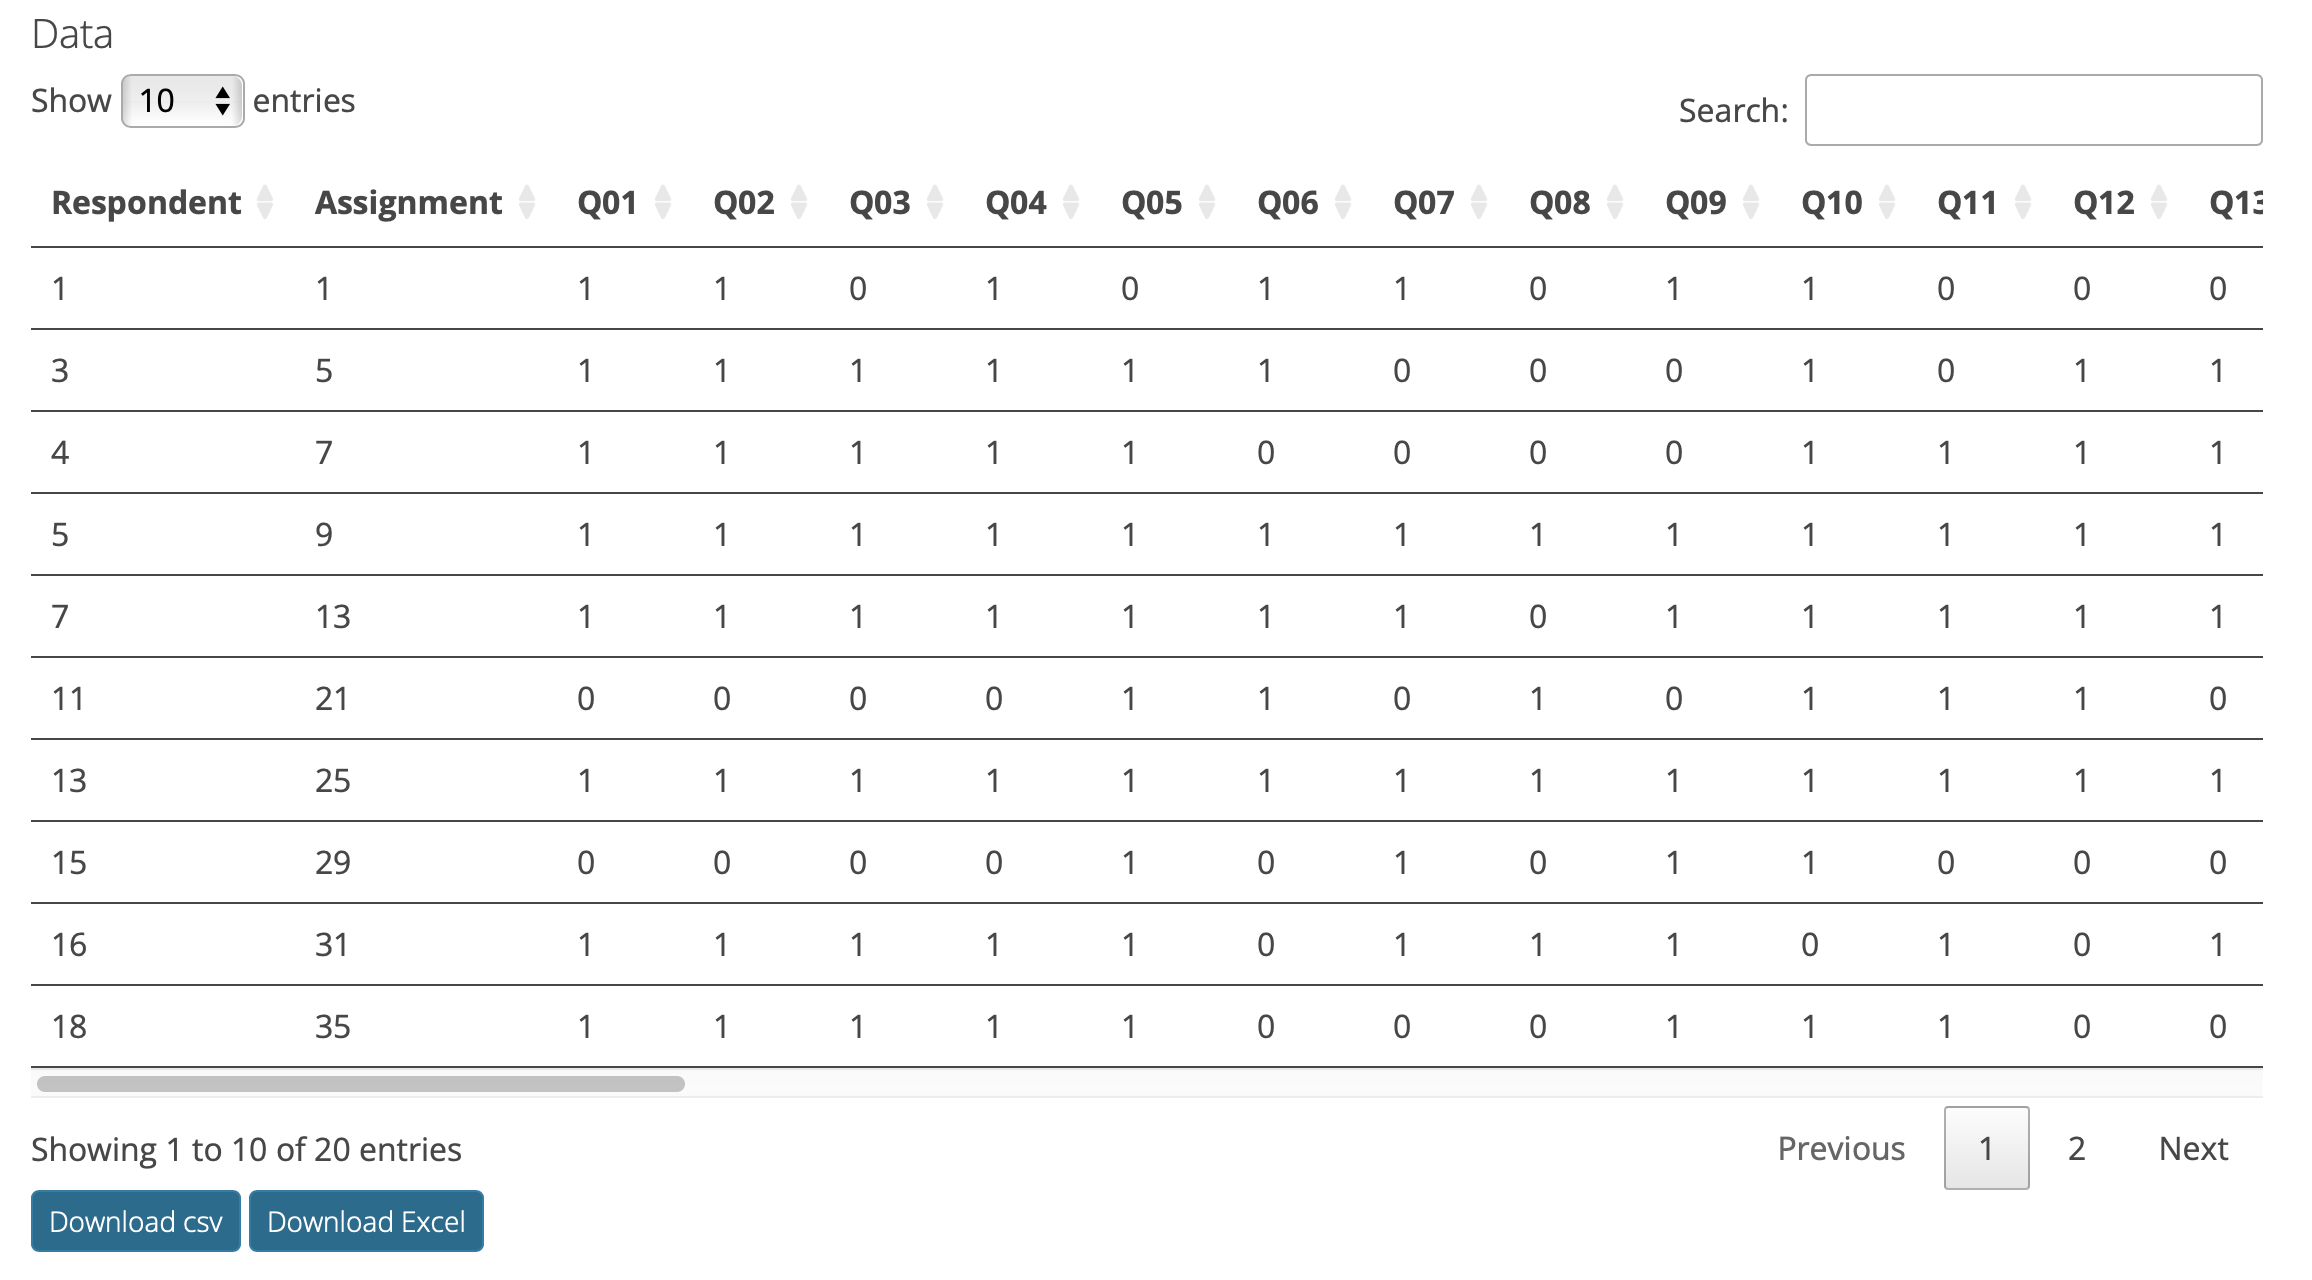
Each answer to the CKT Matter Assessment questions is given a score of 0 if the answer is incorrect and a score of 1 if the answer is correct. For each activity in the data collection group you will see a Summary Table and a Data Table.Summary Table

Data Table
Export Answers
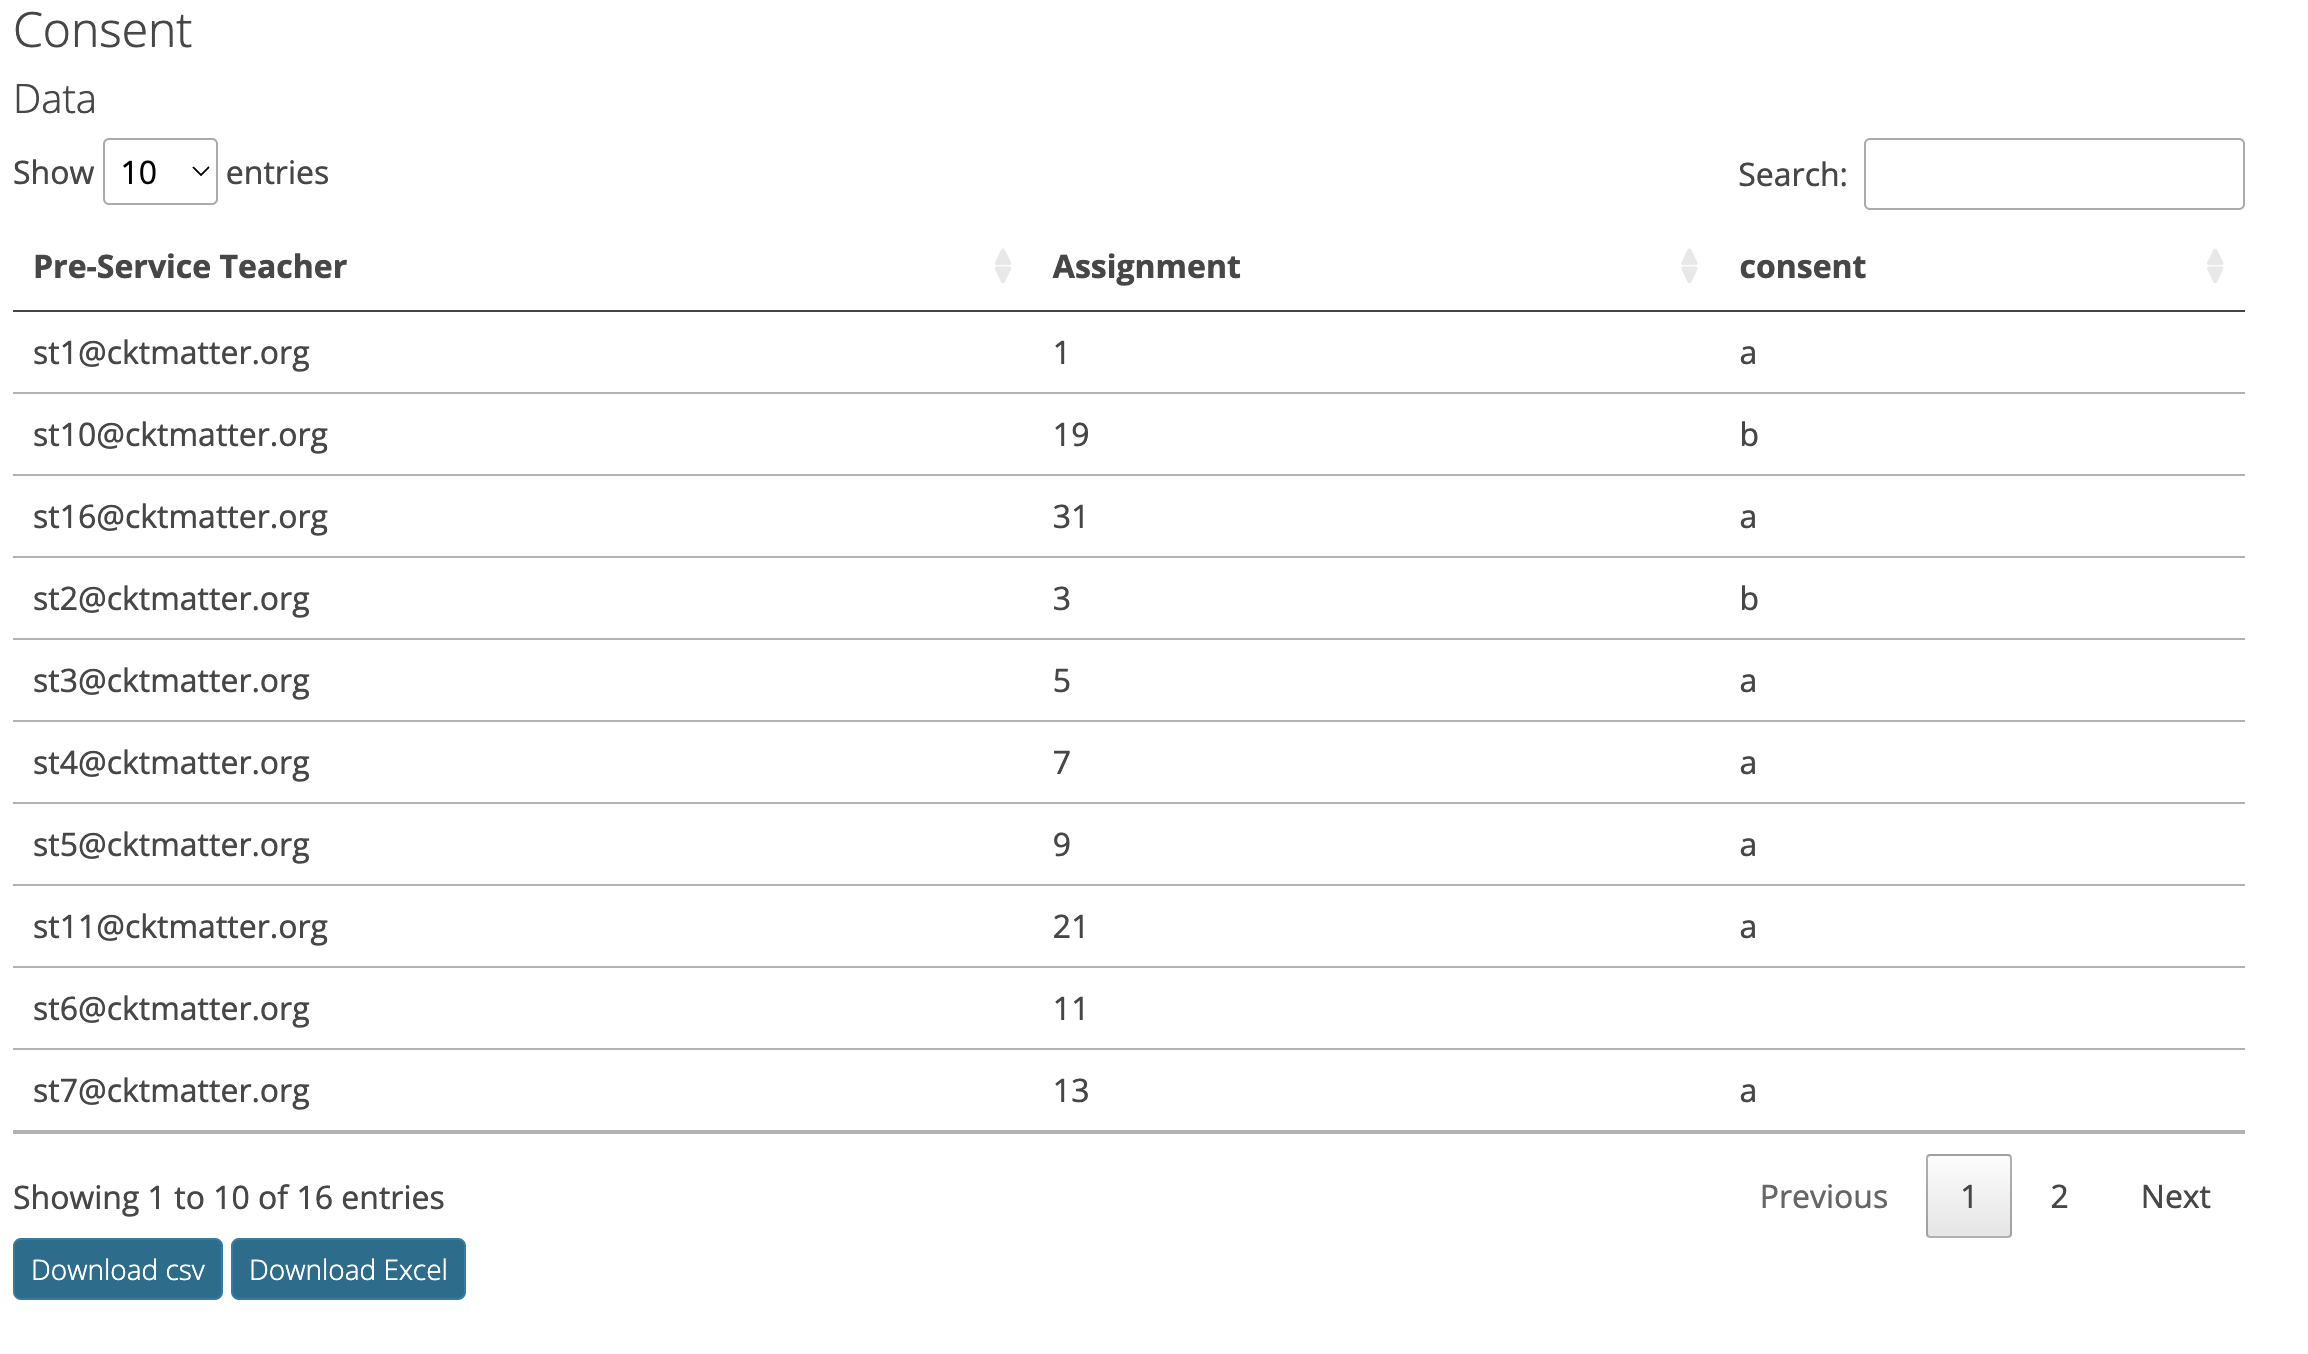
For each activity (Background Questionnaire, CKT Matter Assessment Pre and Post, Perceptions Survey), you will see a Data Table and a Dictionary table.
Data Table
Dictionary Table

Safeguarding Your Account

To safeguard your user session and protect your personal information and the information of your class from unauthorized access, it is imperative that you log out of the application each time you finish using it, especially on public or shared devices.
To logout click on the person icon on the top right and select Logout.
Password ManagementRegularly update your password and consider using a trusted password manager to maintain strong, unique passwords.
Forgot Password
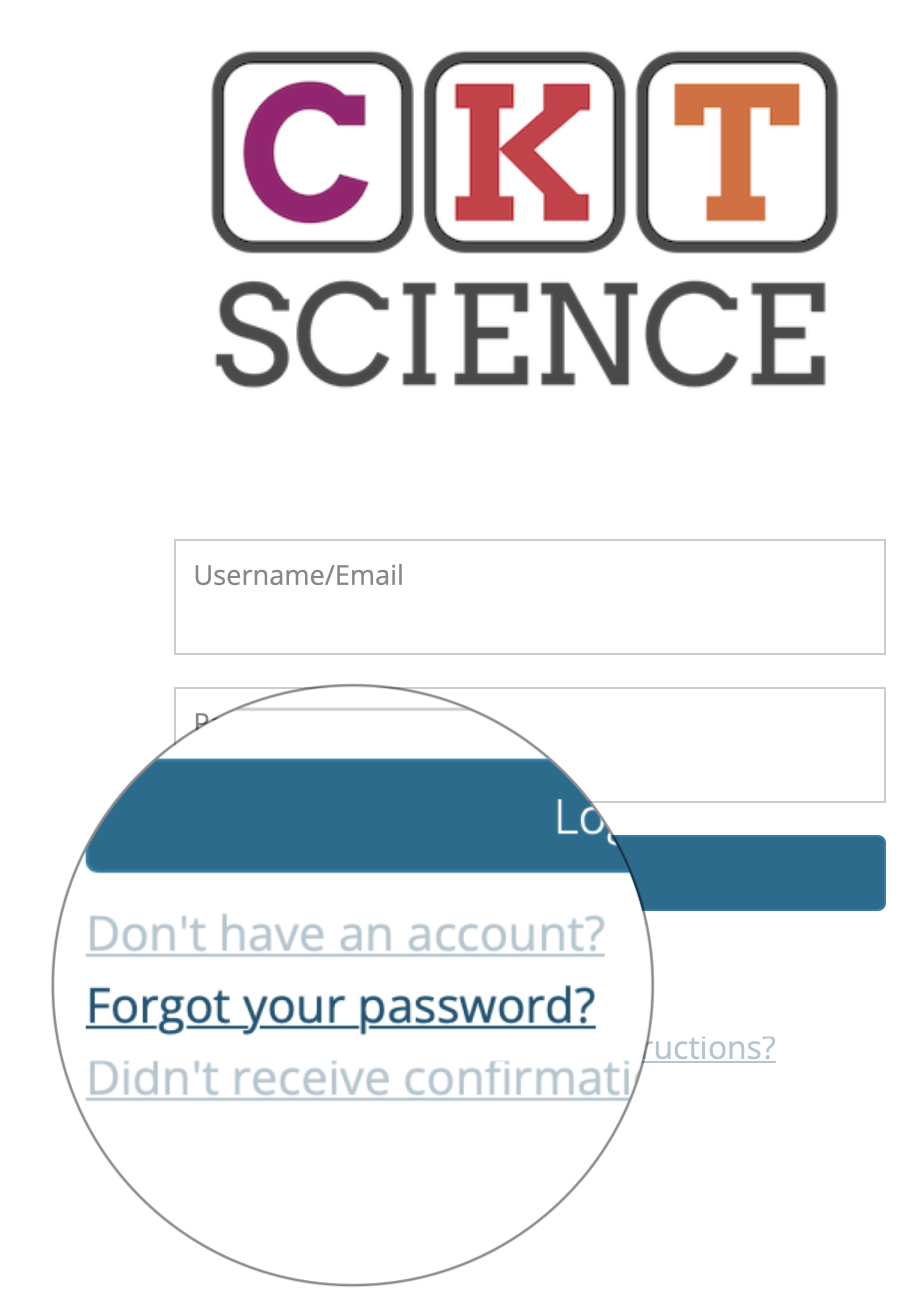

3. You should receive a reset password email to proceed with the change of password. The email will be sent from admin@cktmatter.org and will have the subject "Reset password instructions".
Follow the instructions in the email.